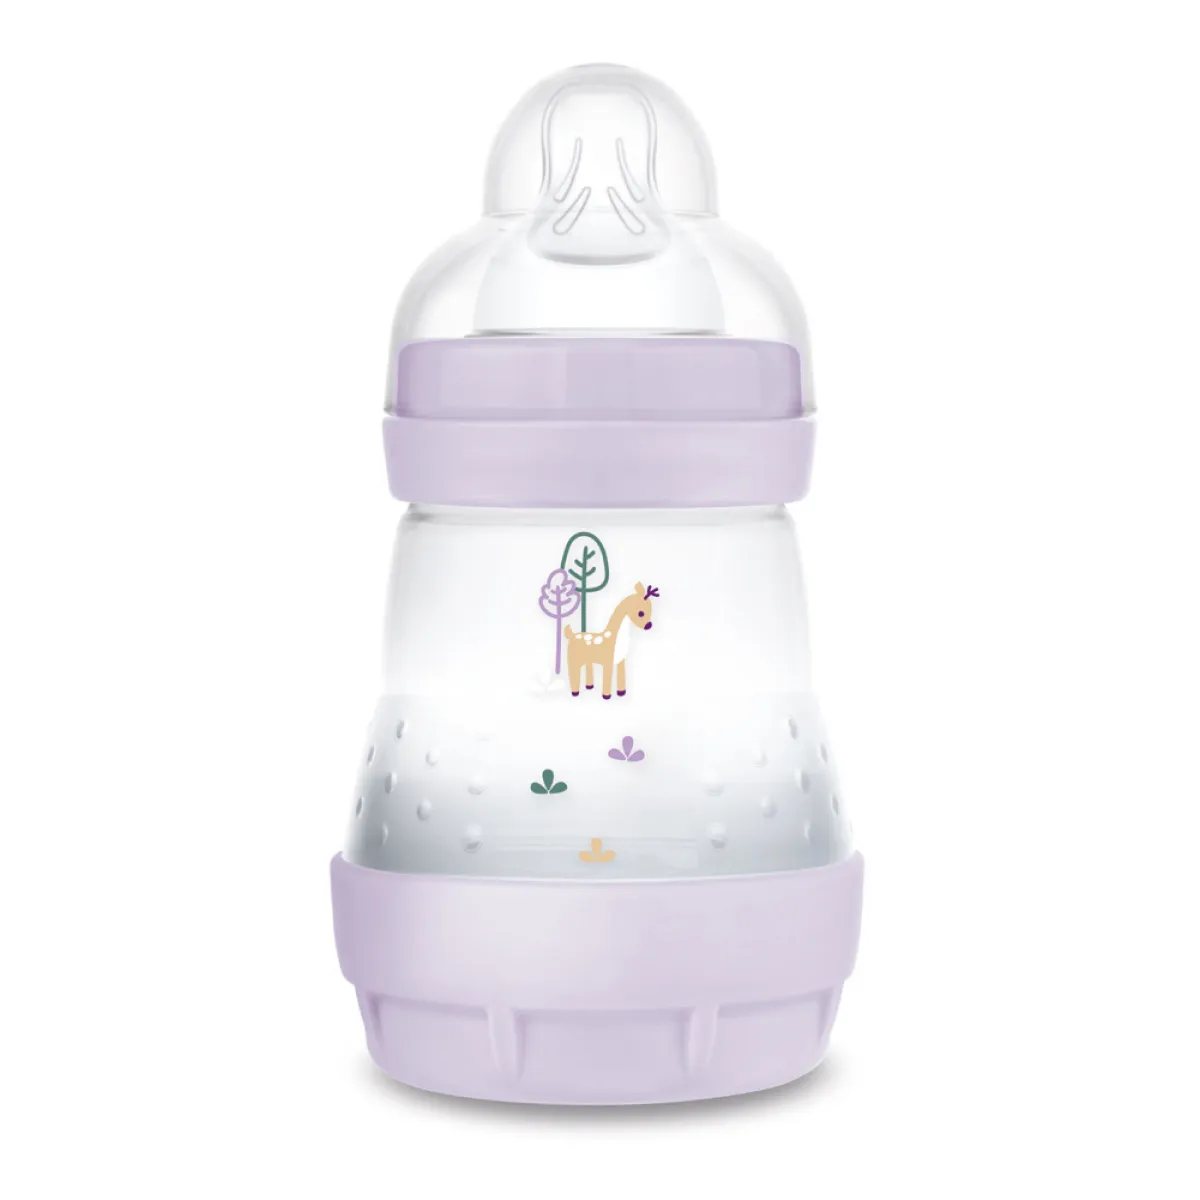
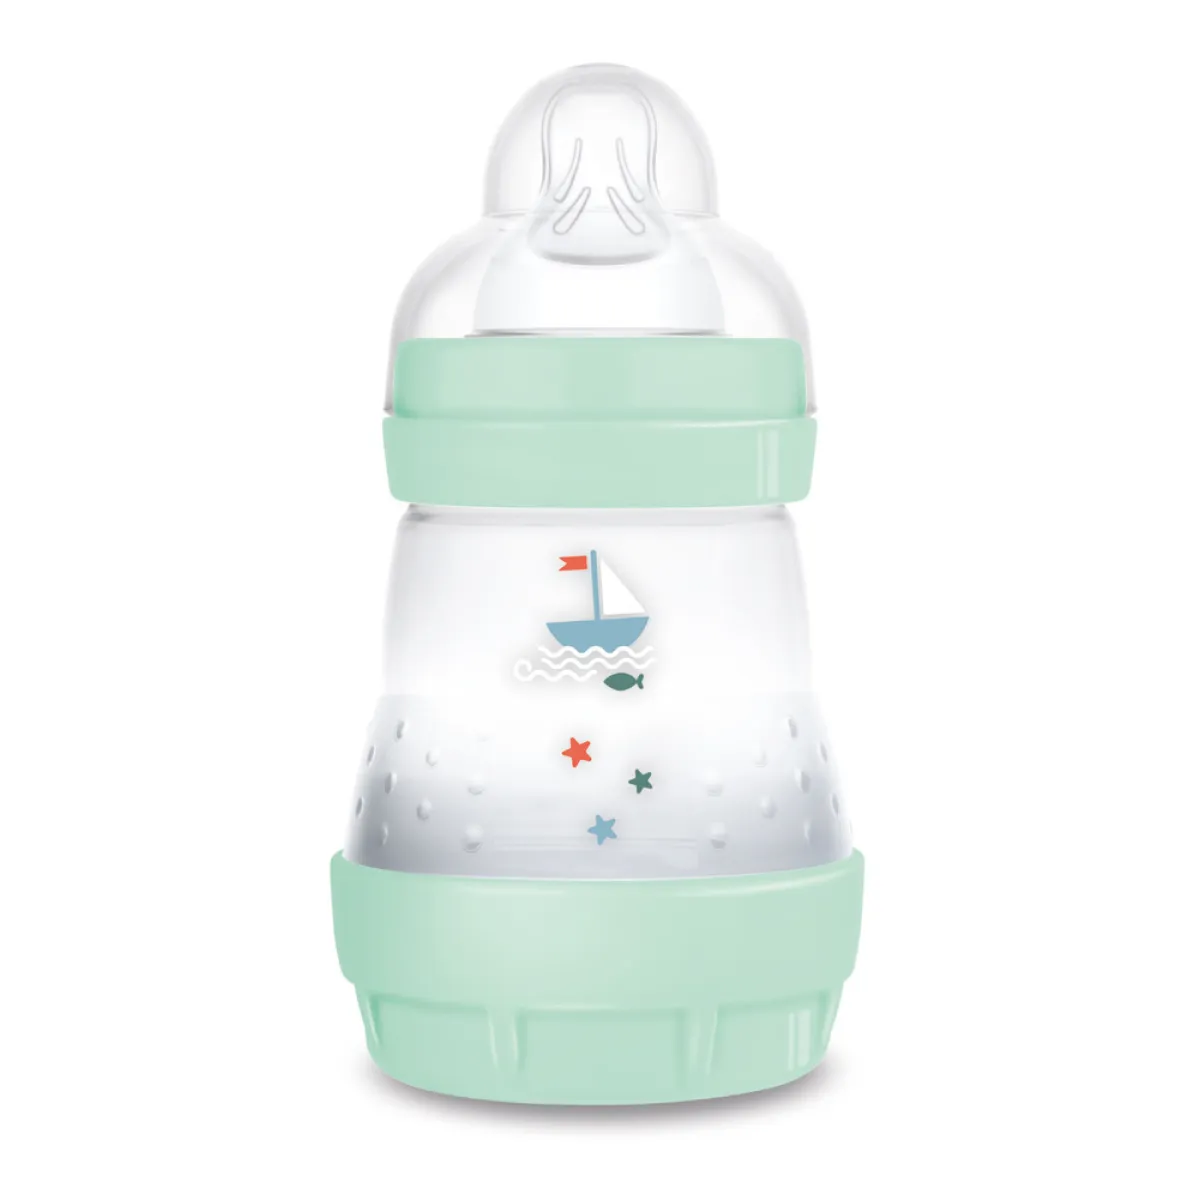
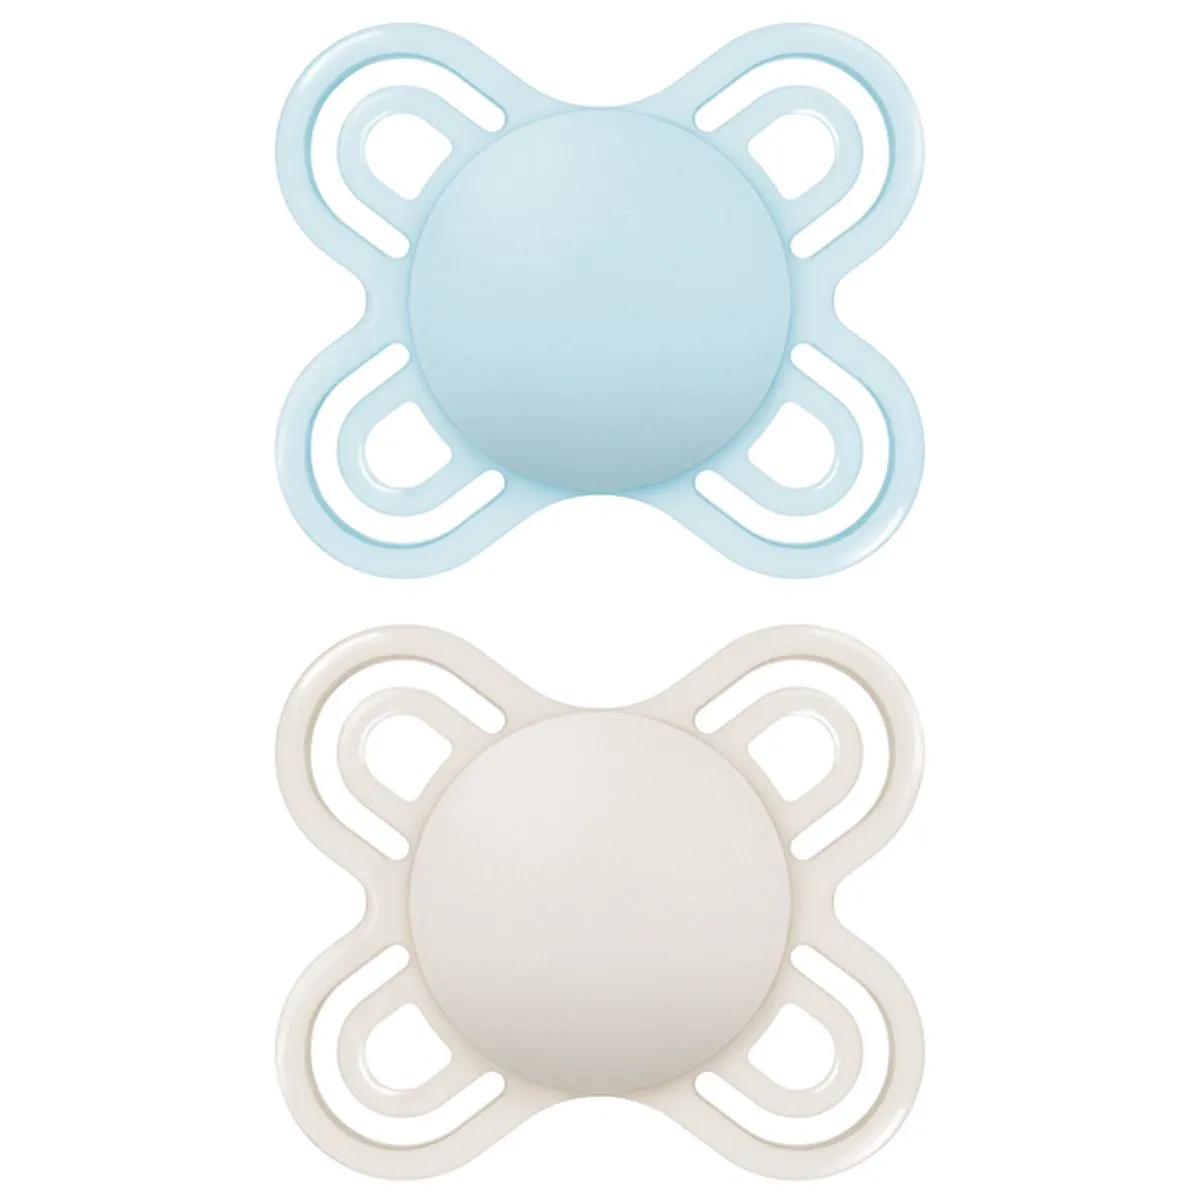
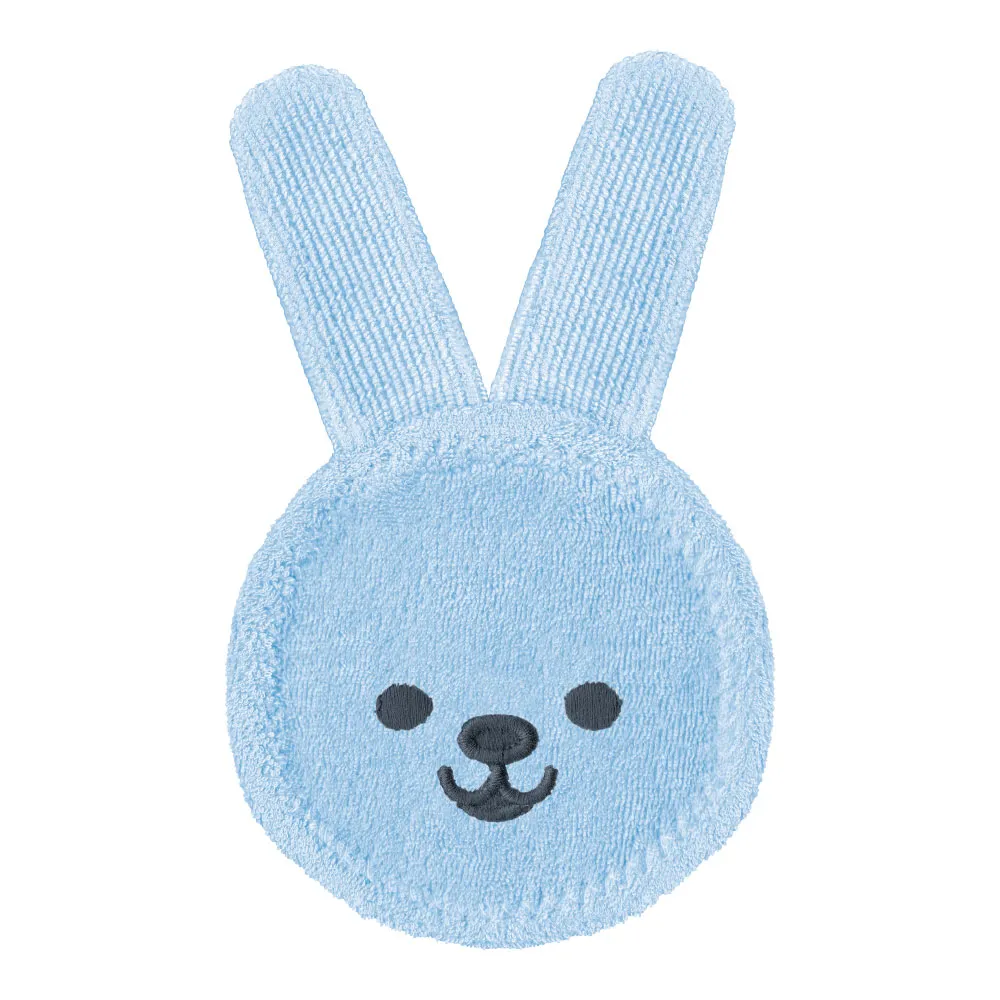
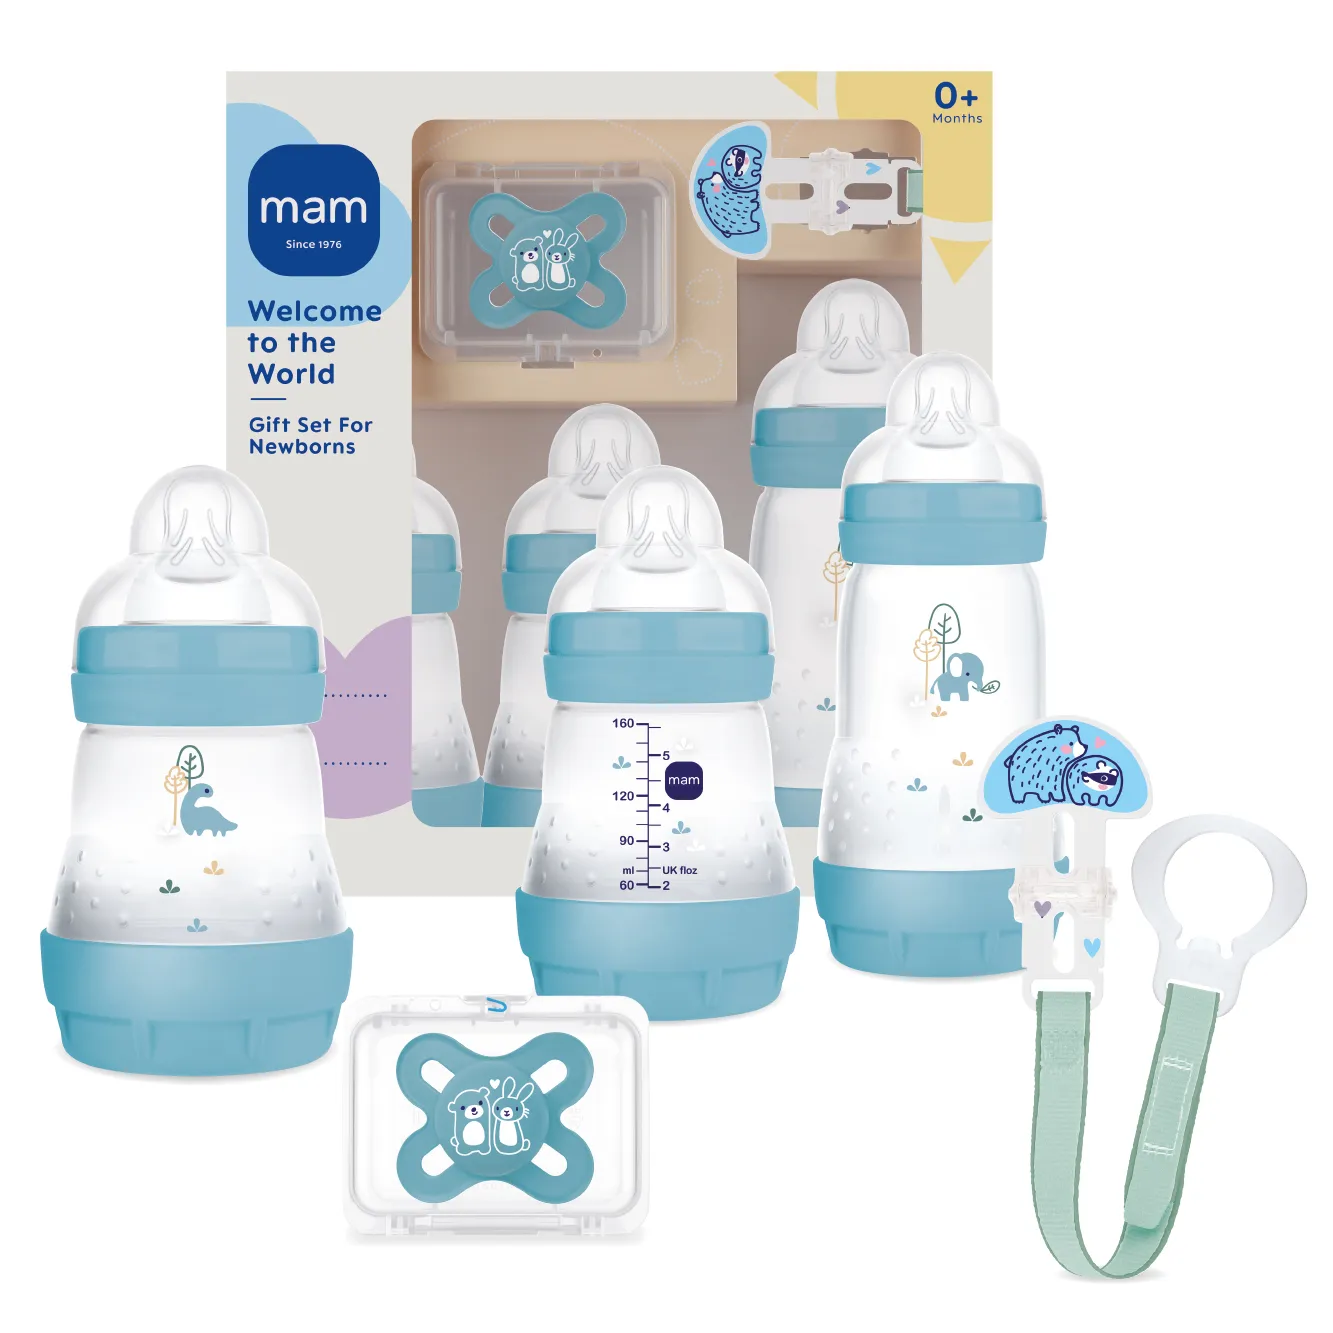
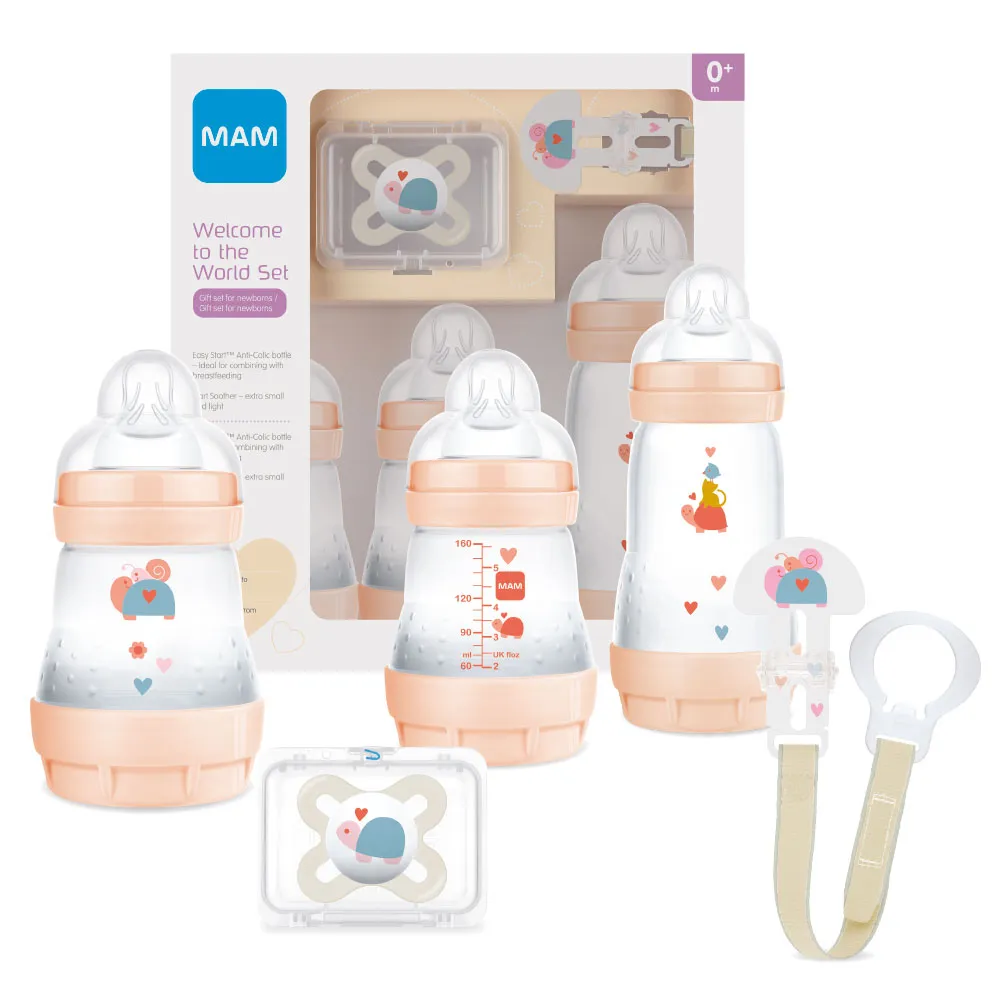
Easy Start™ Anti-Colic Baby Bottle Newborn Set 0+ months, 11 Piece Set
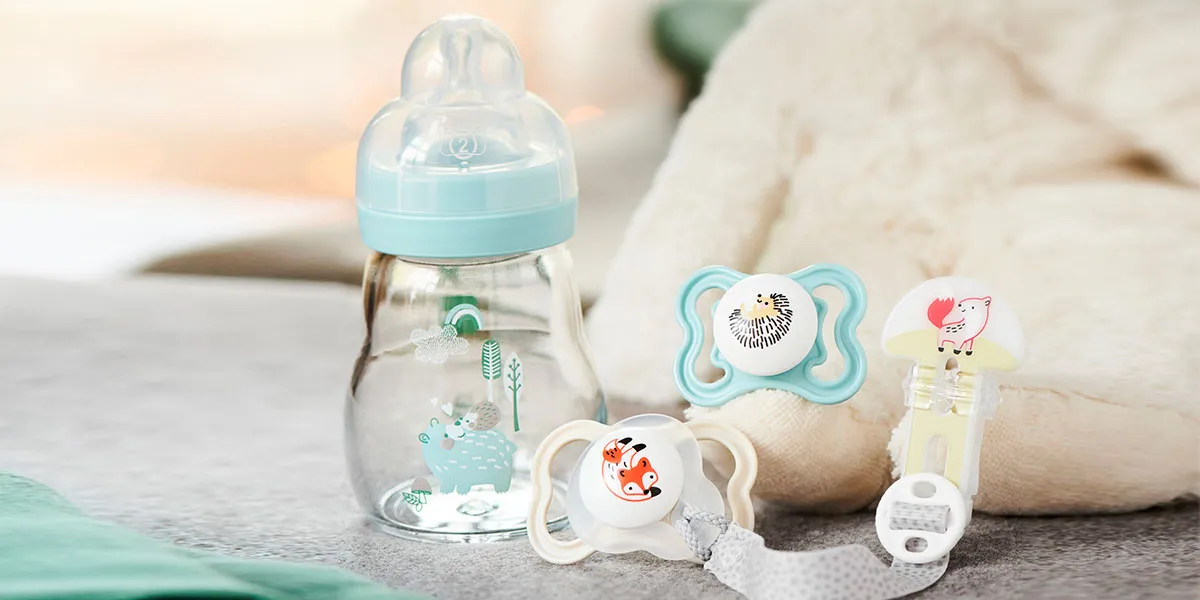
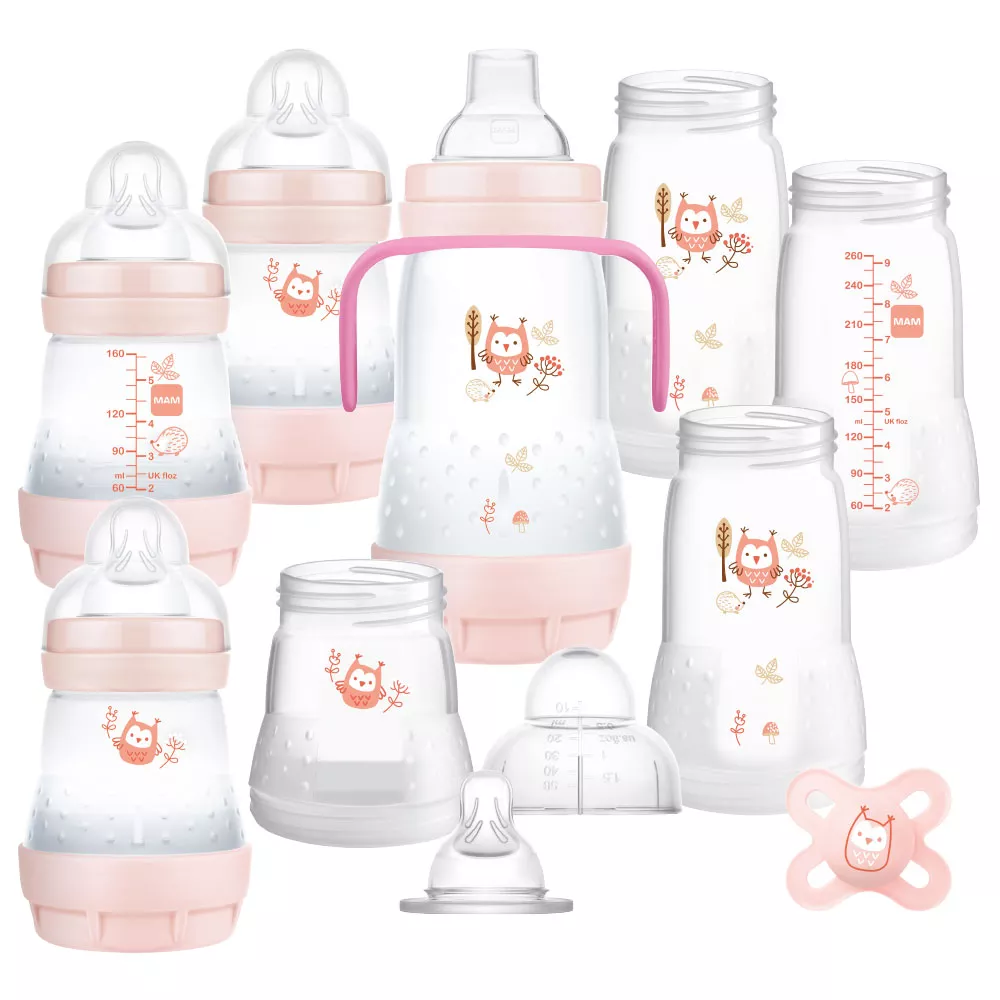
Pack Contents
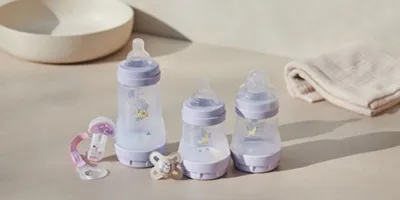
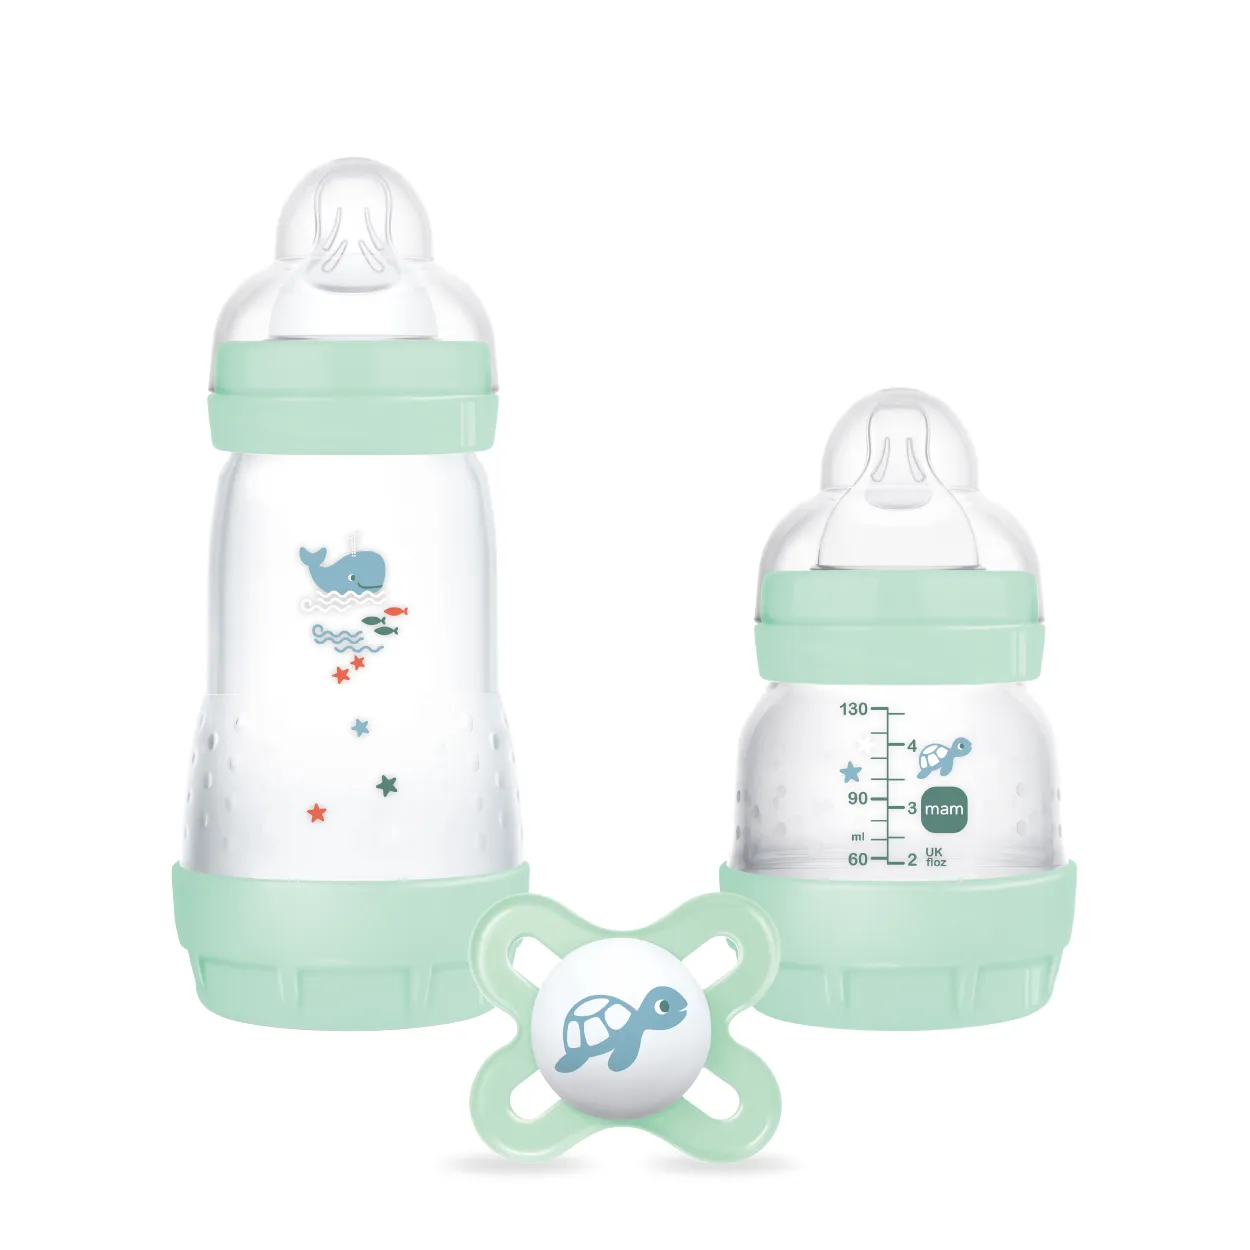
- 4x Easy Start 160ml Anti Colic Bottles with Size 1 Slow Flow Teats
- 4x Easy Start 260ml Anti Colic Bottles (Bottle bodies only)
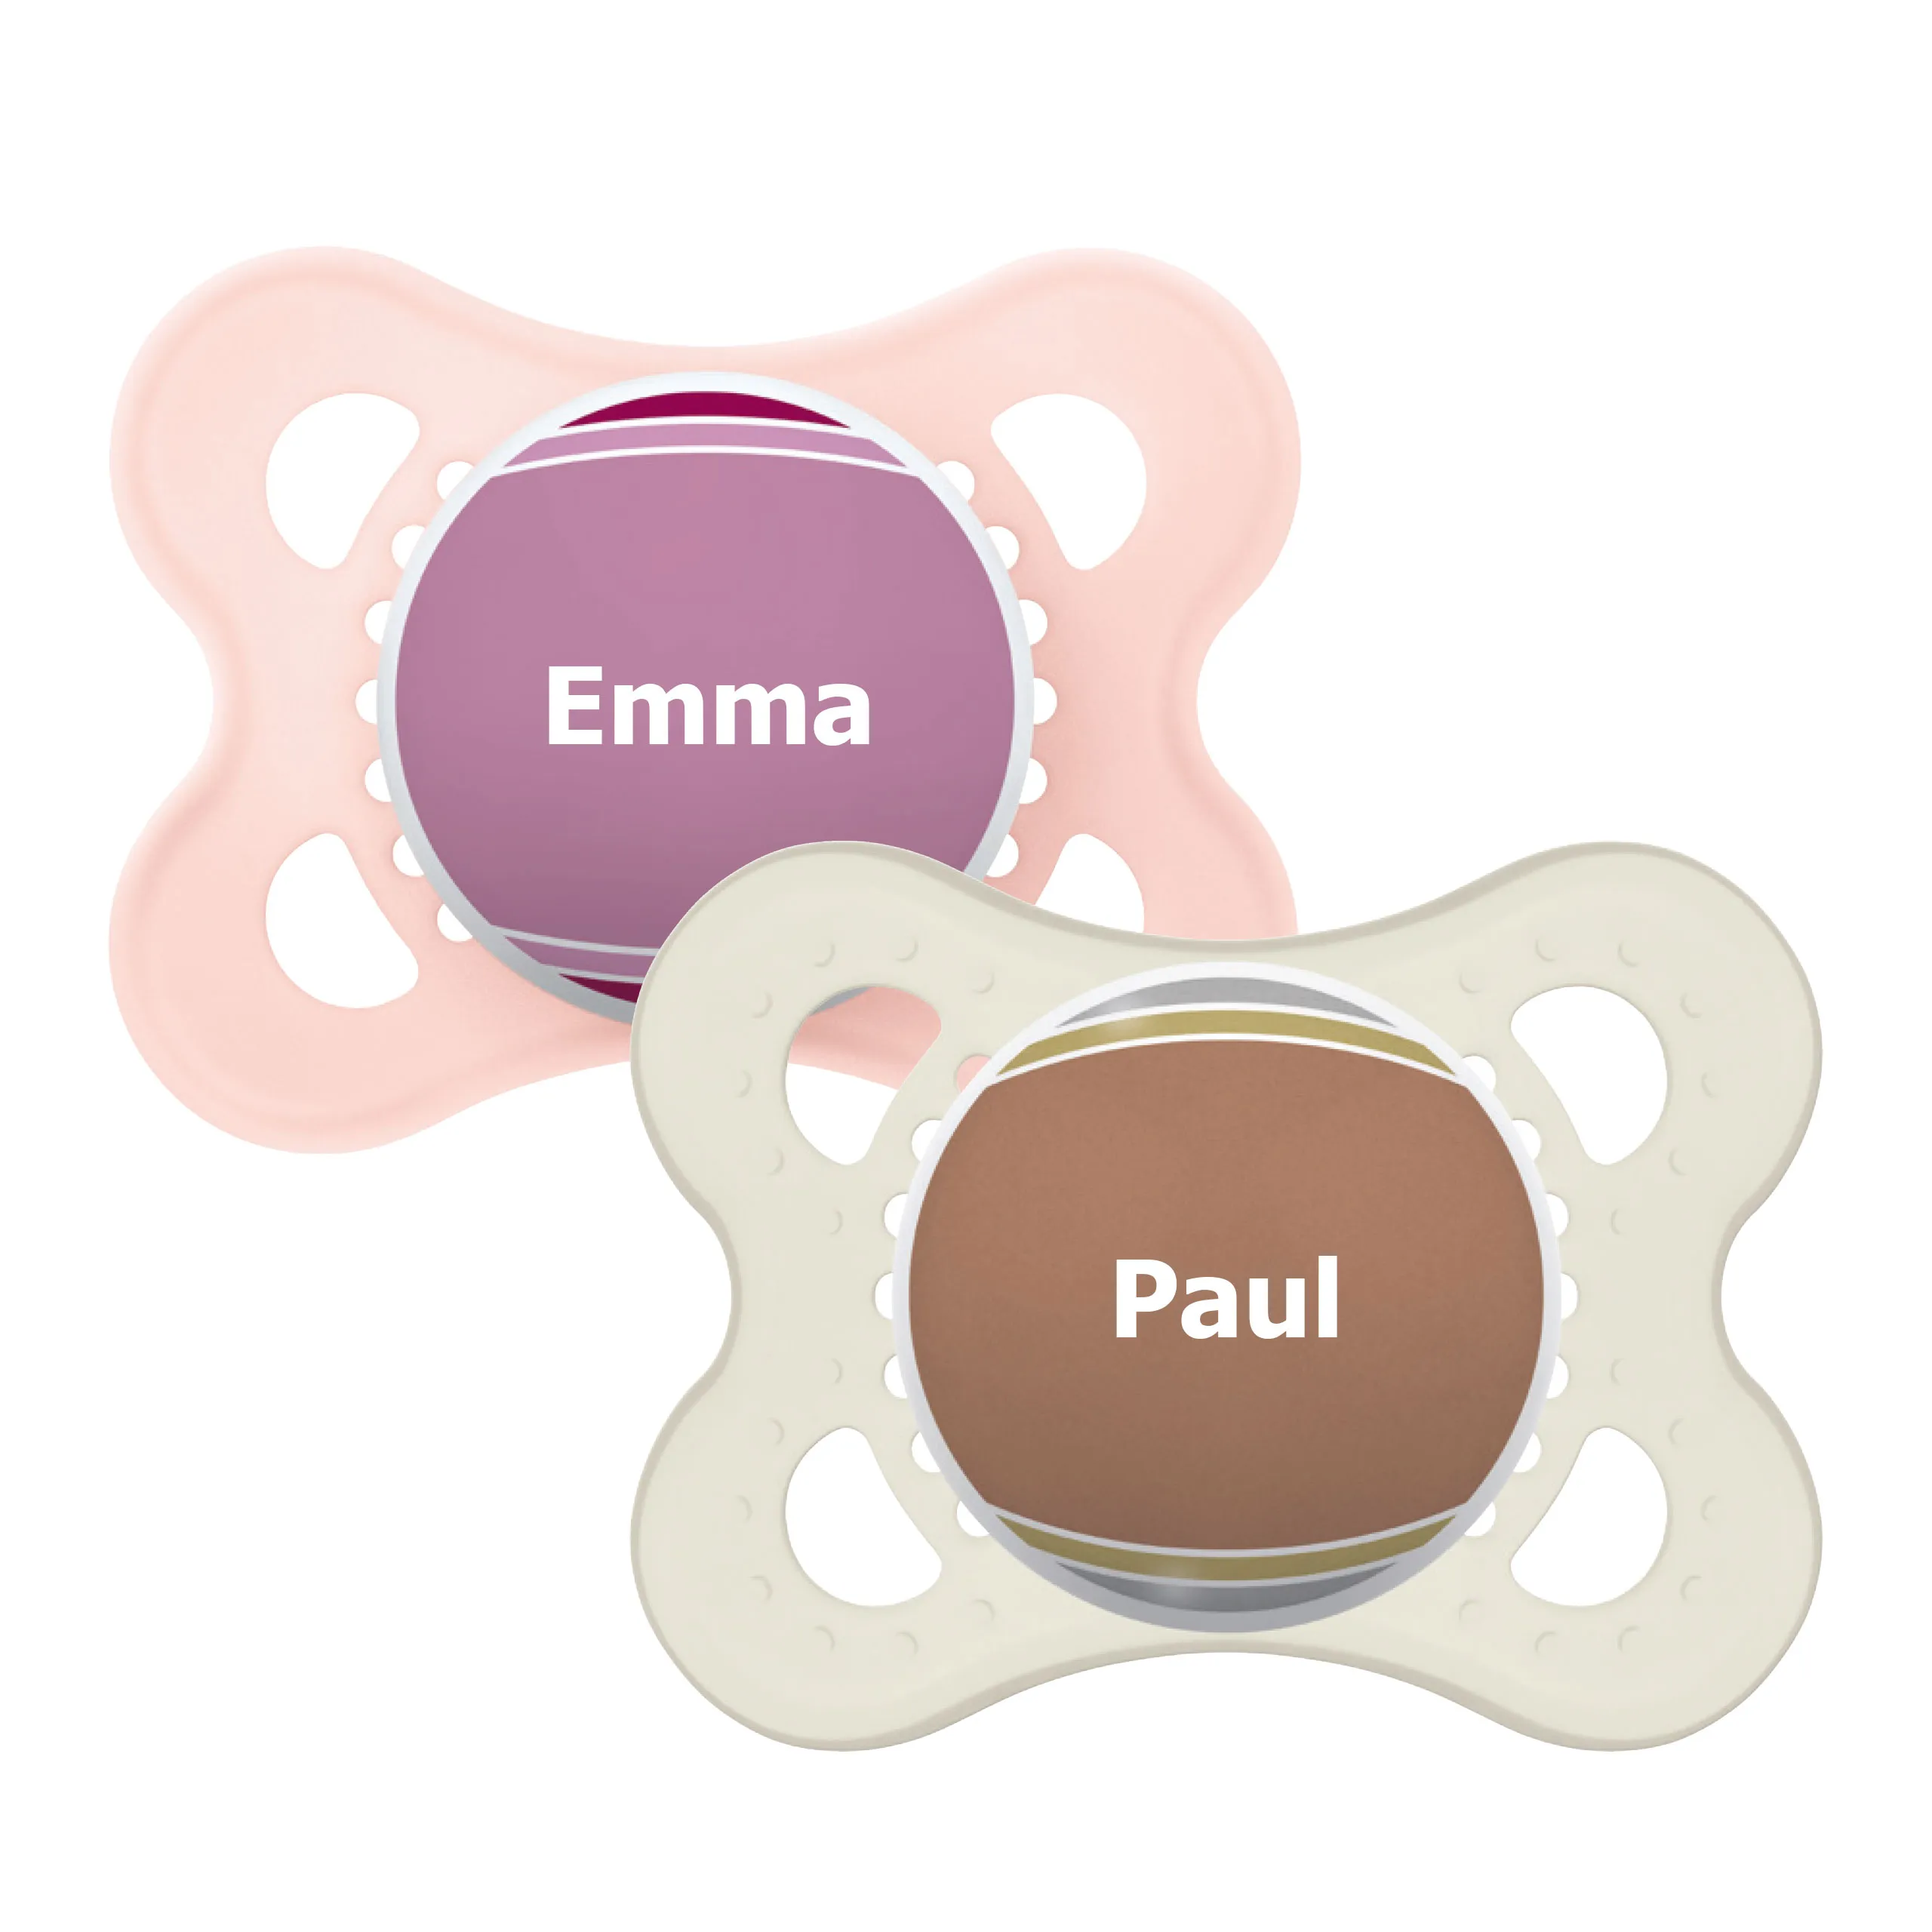
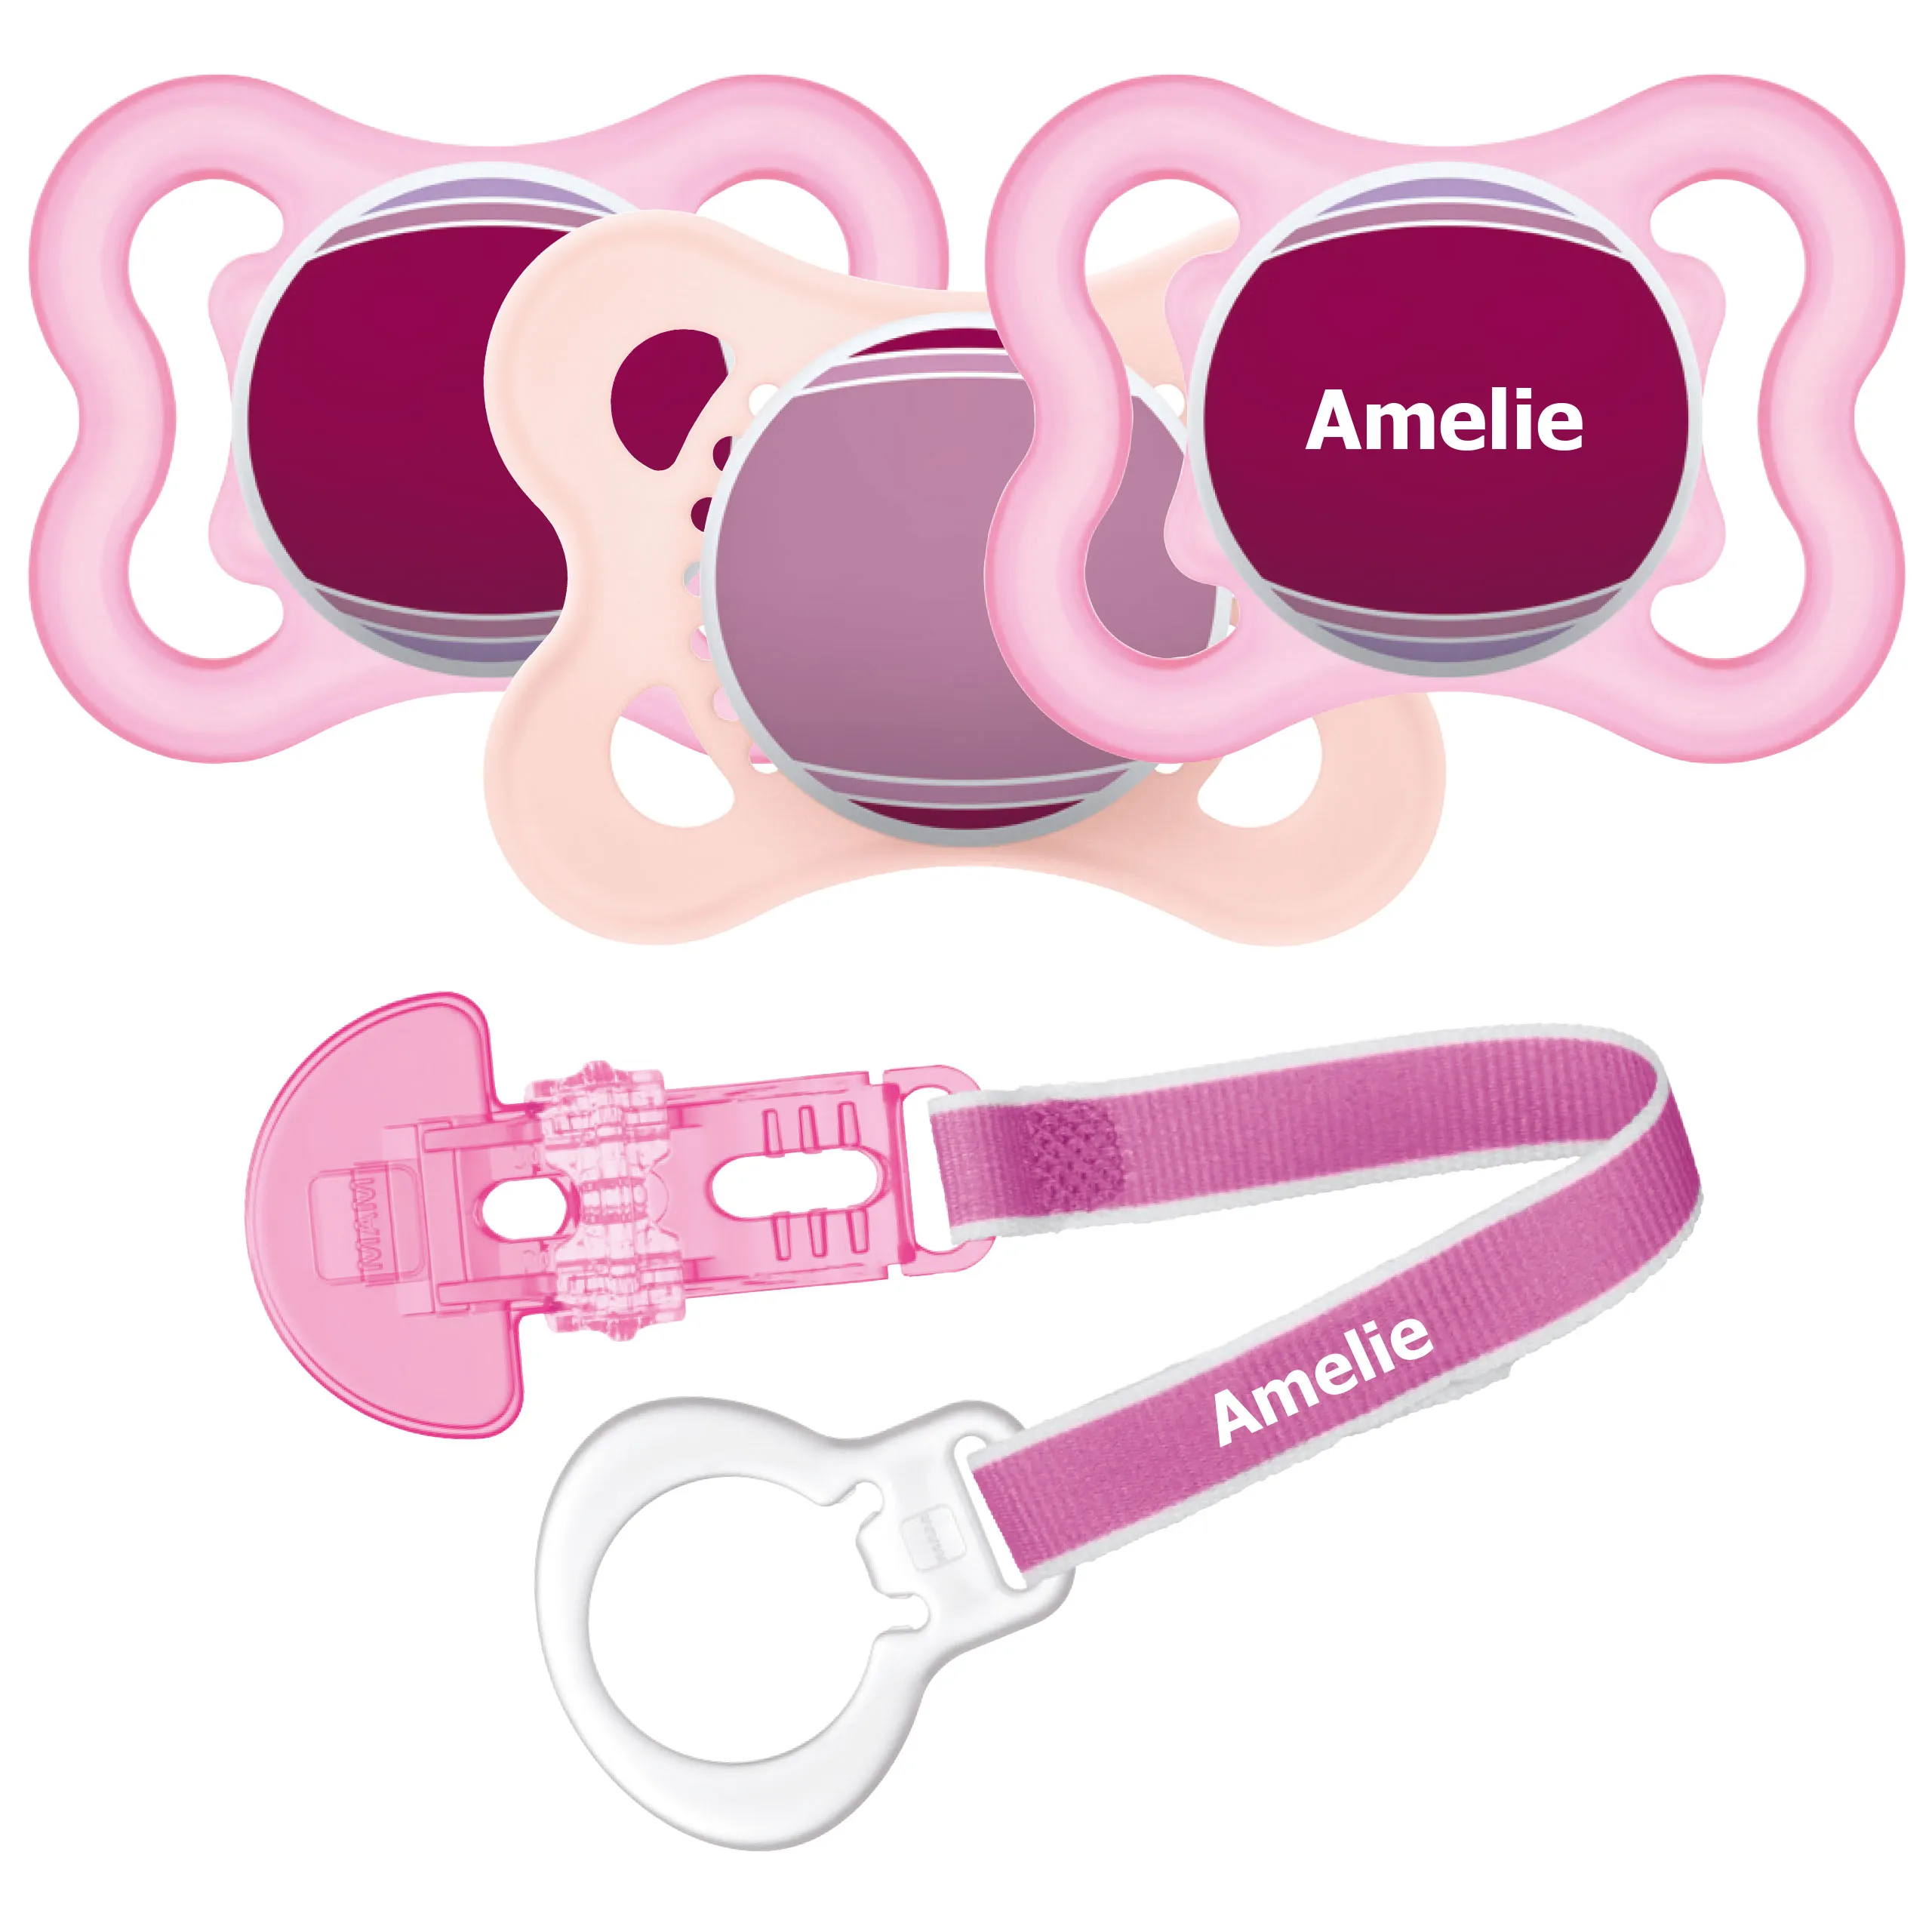
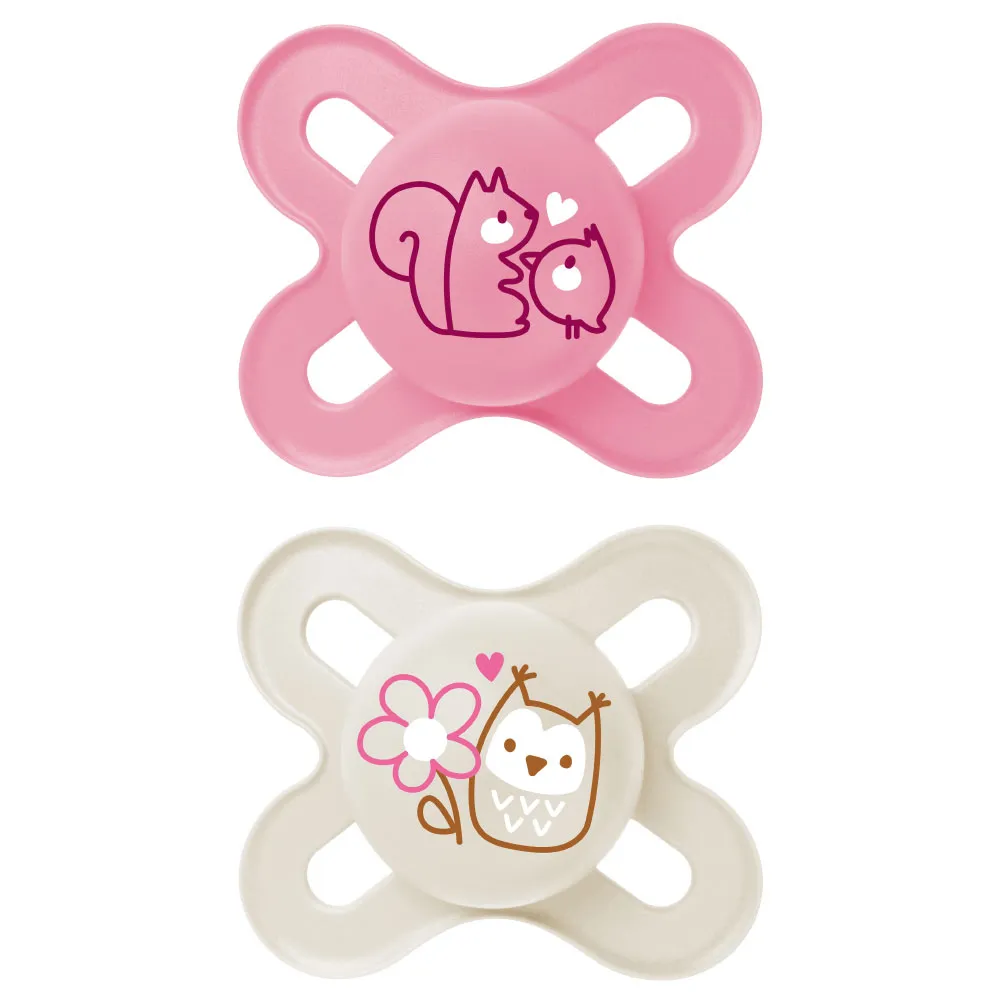
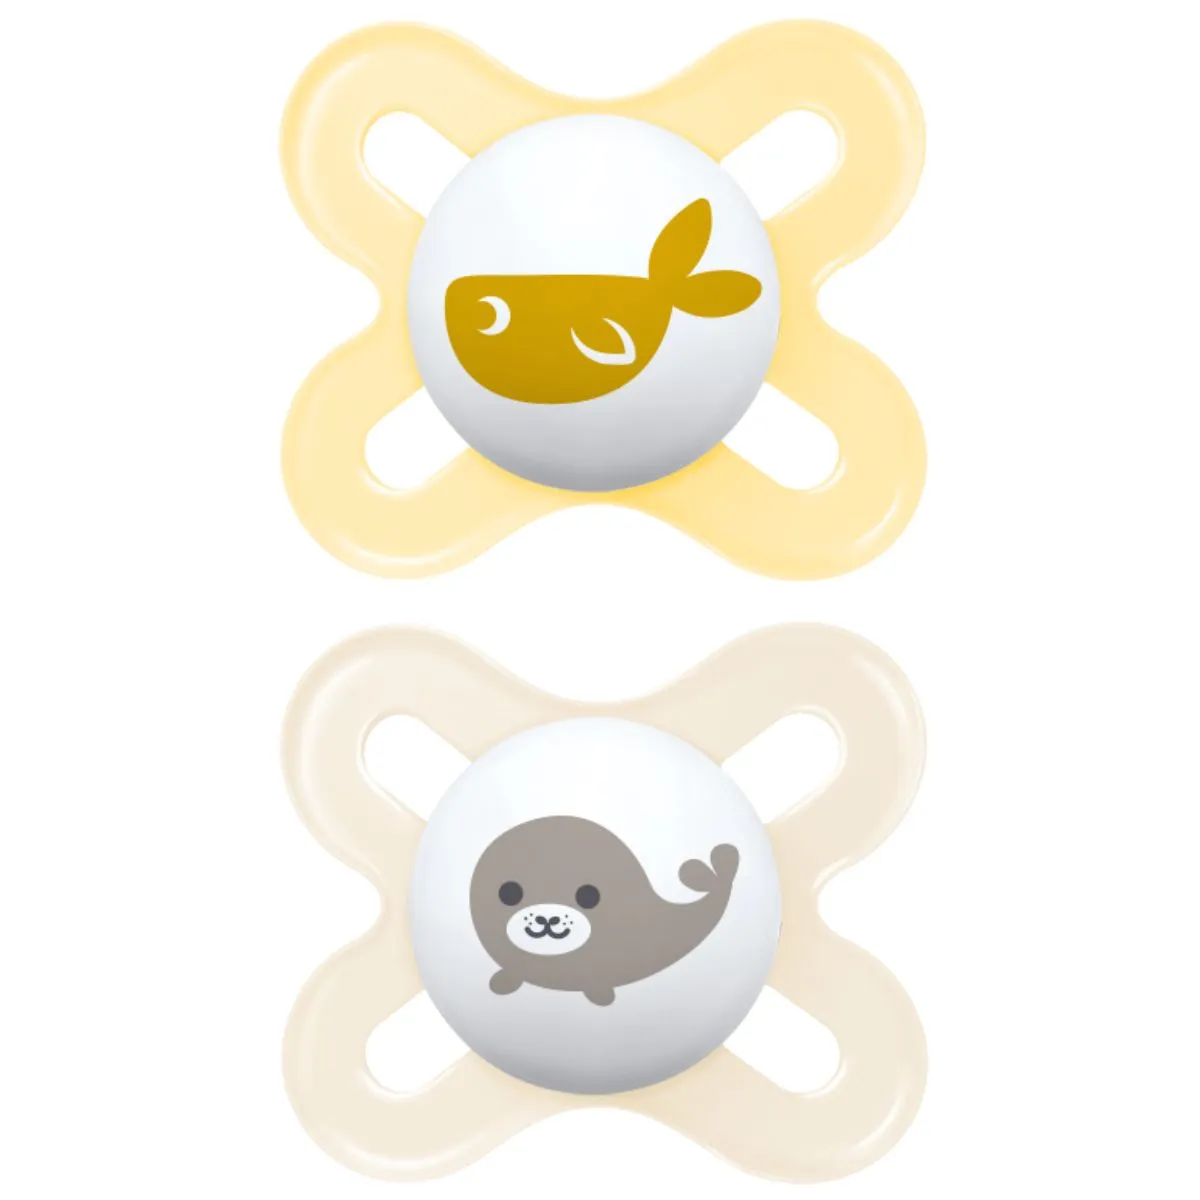
- 1x Start 0-2 month Soother
- 1x Extra Soft Bottle Spout
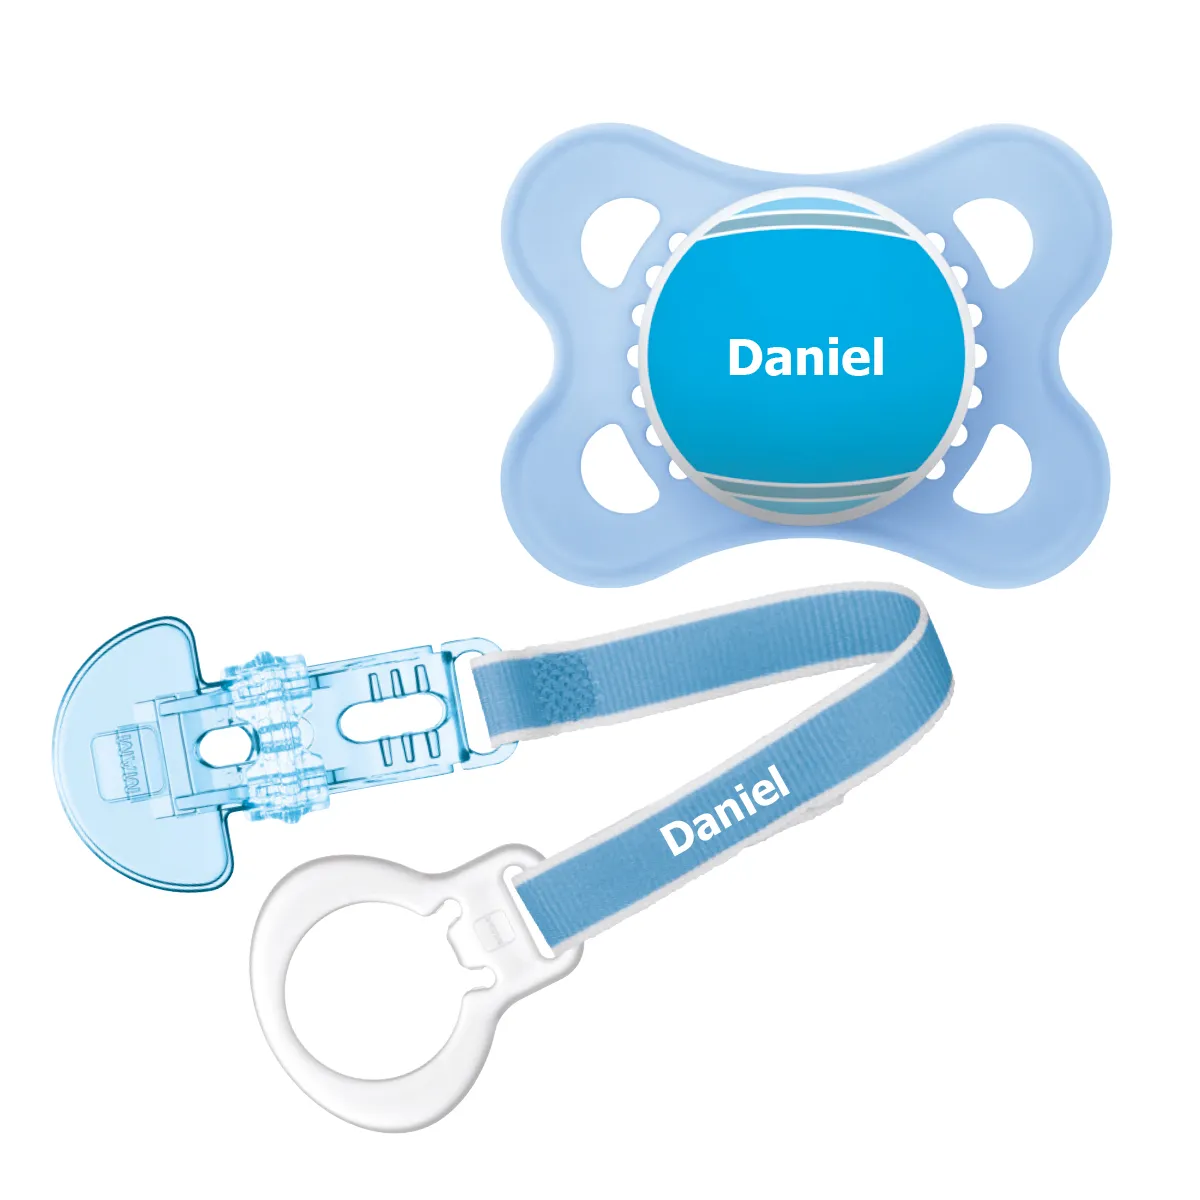
- 1x Hold my Bottle Handles
- Reduces air bubbles and colic2
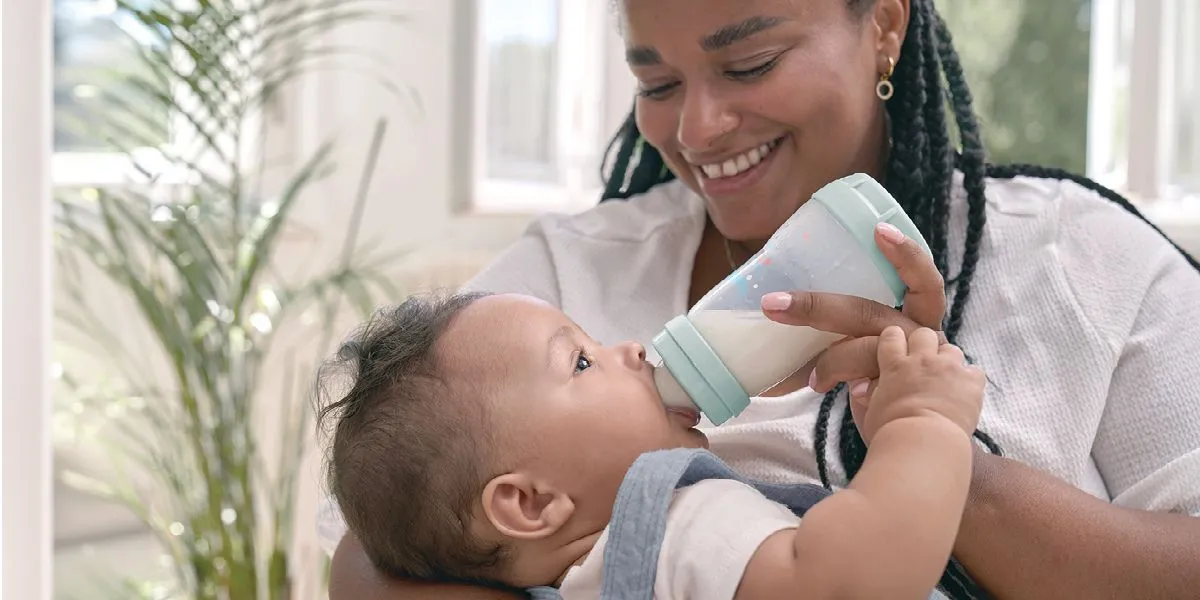
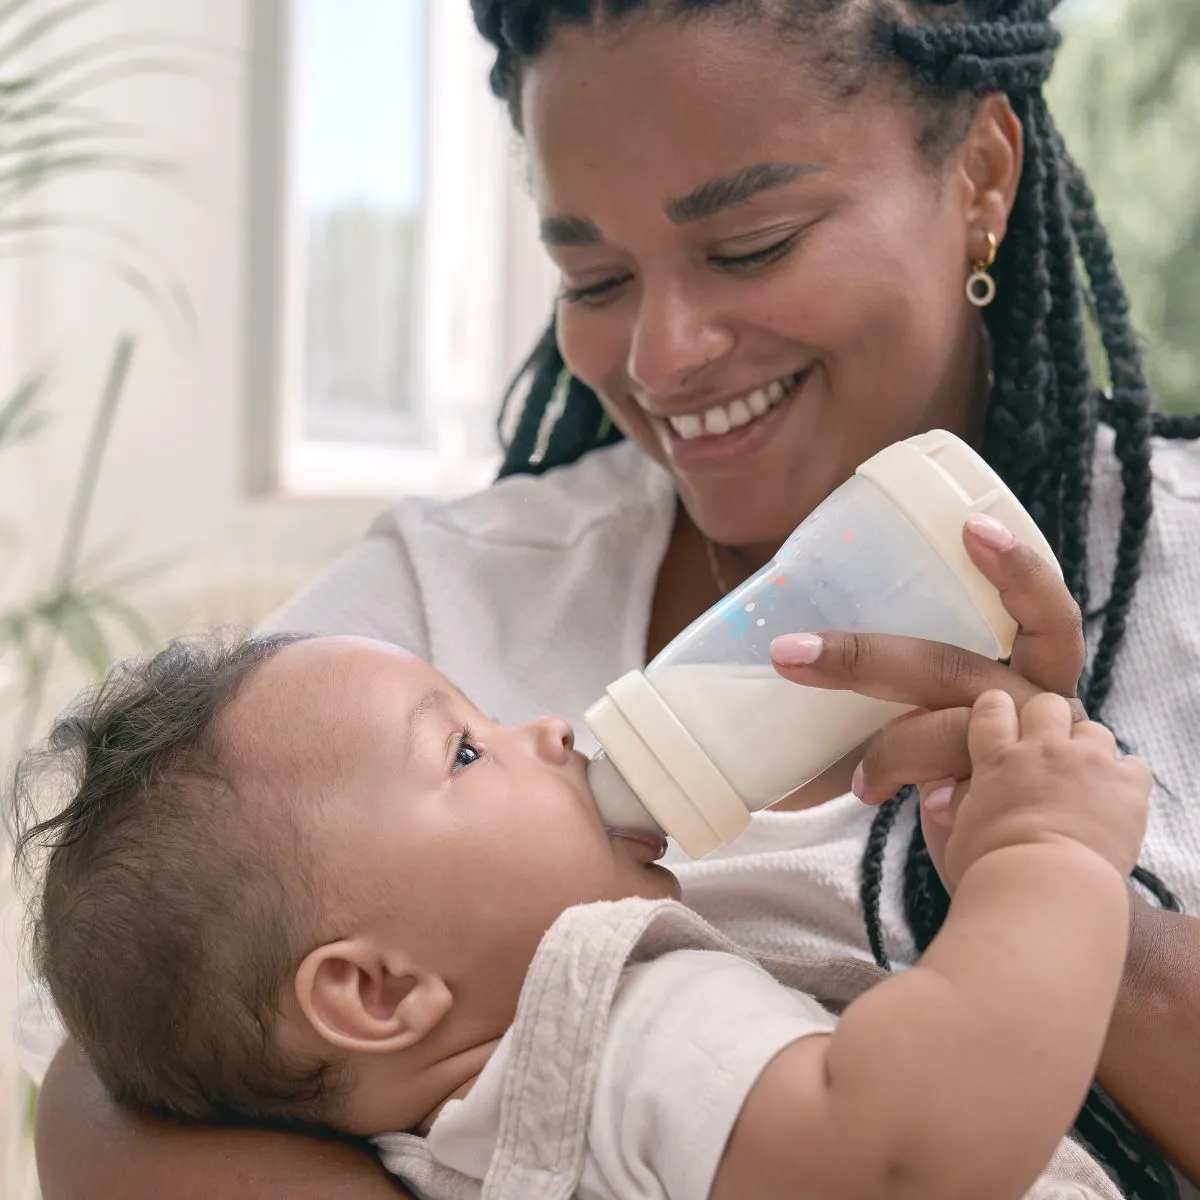
- Flat soft teat – like mum’s breast when breastfeeding
- Ideal for combining with breastfeeding
- Wide opening for easy filling and cleaning
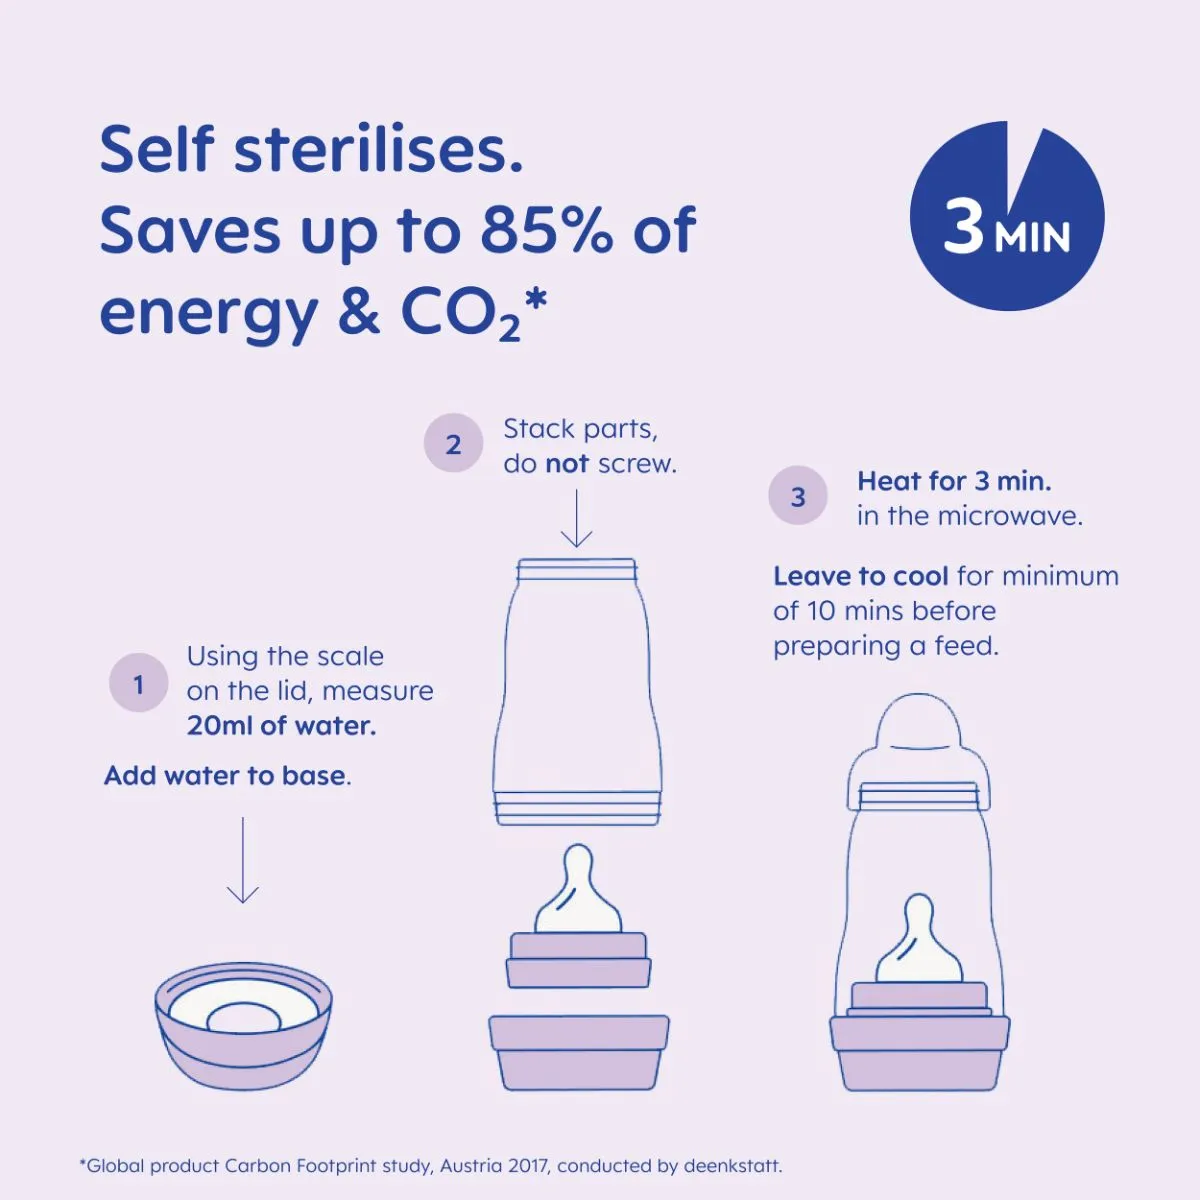
- With unique self-sterilising function – ideal for on the go
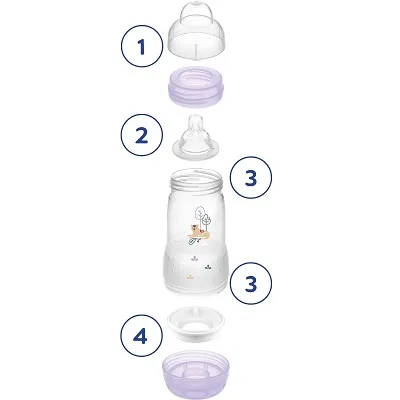
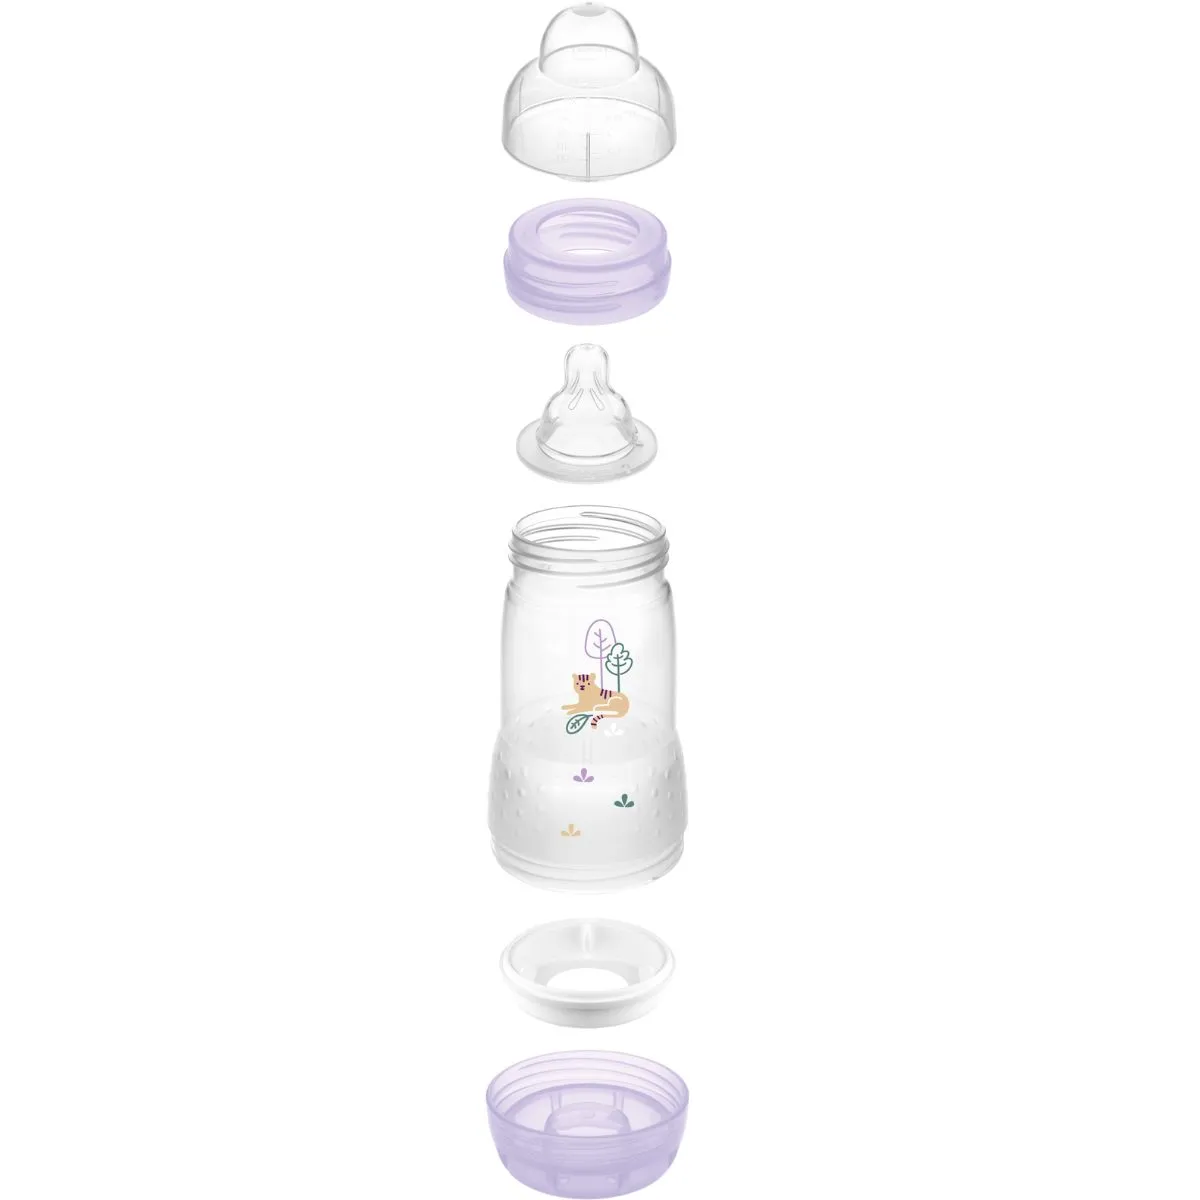
1. DUST CAP
Spill-proof; doubles as a measuring cup
2. SKINSOFTTM SILICONE TEAT
Unique flat symmetric shape – like mum’s breast when breastfeeding. Silky soft silicone surface - for a familiar feeling. 94% of babies accept our bottle teat1
3. WIDE OPENING
Easy filling; fast & easy cleaning
4. VENTED BASE
Smooth flow prevents baby from swallowing air; reduces air bubbles and colic2
1Market research 2010-2020, tested with 1,572 babies.
2Field study, Austria 2011, tested with 73 mothers of babies with colic / Market research, USA 2010, tested with 35 mothers of babies with colic.
| Age: | 0+ months |
|---|---|
| Color: | Matt Blush, Matt Linen, Matt Sage |
| Product: | Easy Start Anti Colic |
| Sets, Multi- or Combi Pack: | Set |
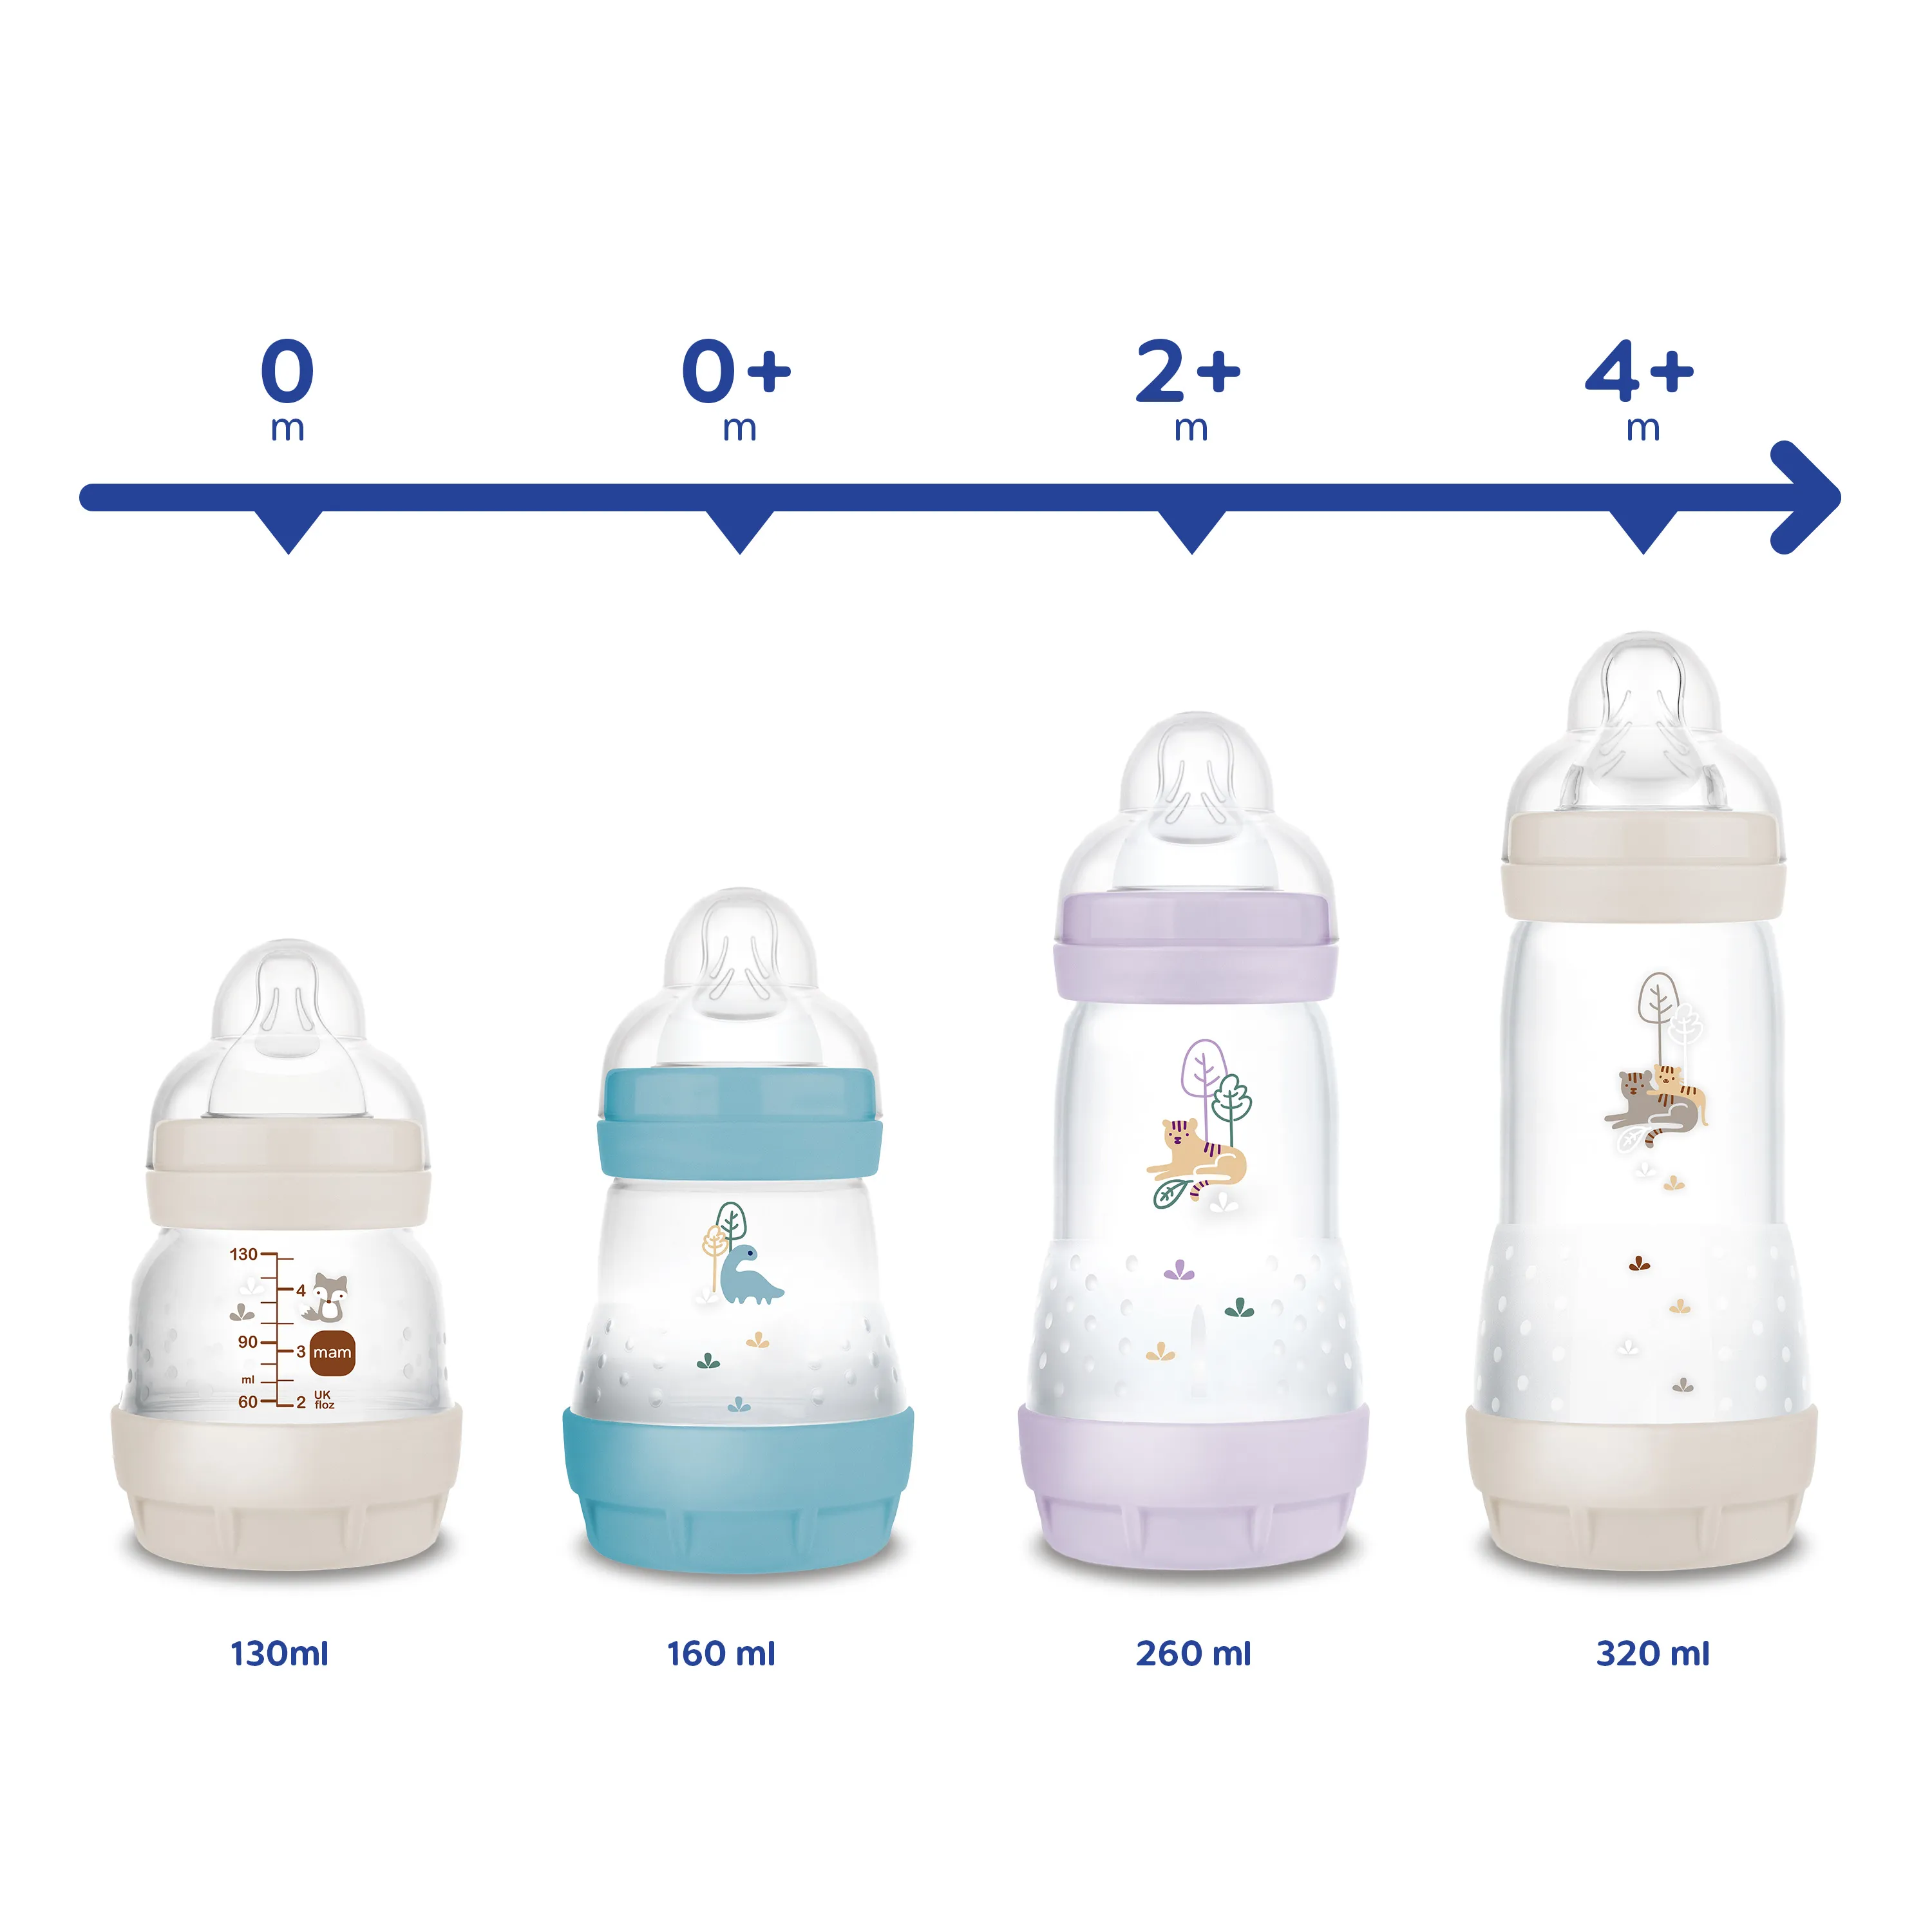
| Size: | 160ml, 260ml |
| Teat Material: | Silicone |
Product Videos

94% teat acceptance: easily accepted by babies – for a familiar feeling
All MAM products are made from materials free of BPA and BPS

For babies from 0 months

This product has a self-sterilising function – ideal for on the go

Flow rate 1: perfect for breast milk and formula

This product is easy to clean

This product is made in Europe
¹ Market research 2009-2023, tested with 1,808 babies.

DEVELOPED WITH MEDICAL EXPERTS

HONORED WITH THE EU PRODUCT SAFETY AWARD 2019
For hygiene reasons, the teats should be replaced at regular intervals. Simply check the teat each time you are about to use the bottle – especially when baby already has teeth – and replace it when the first signs of damage or weak points become apparent.
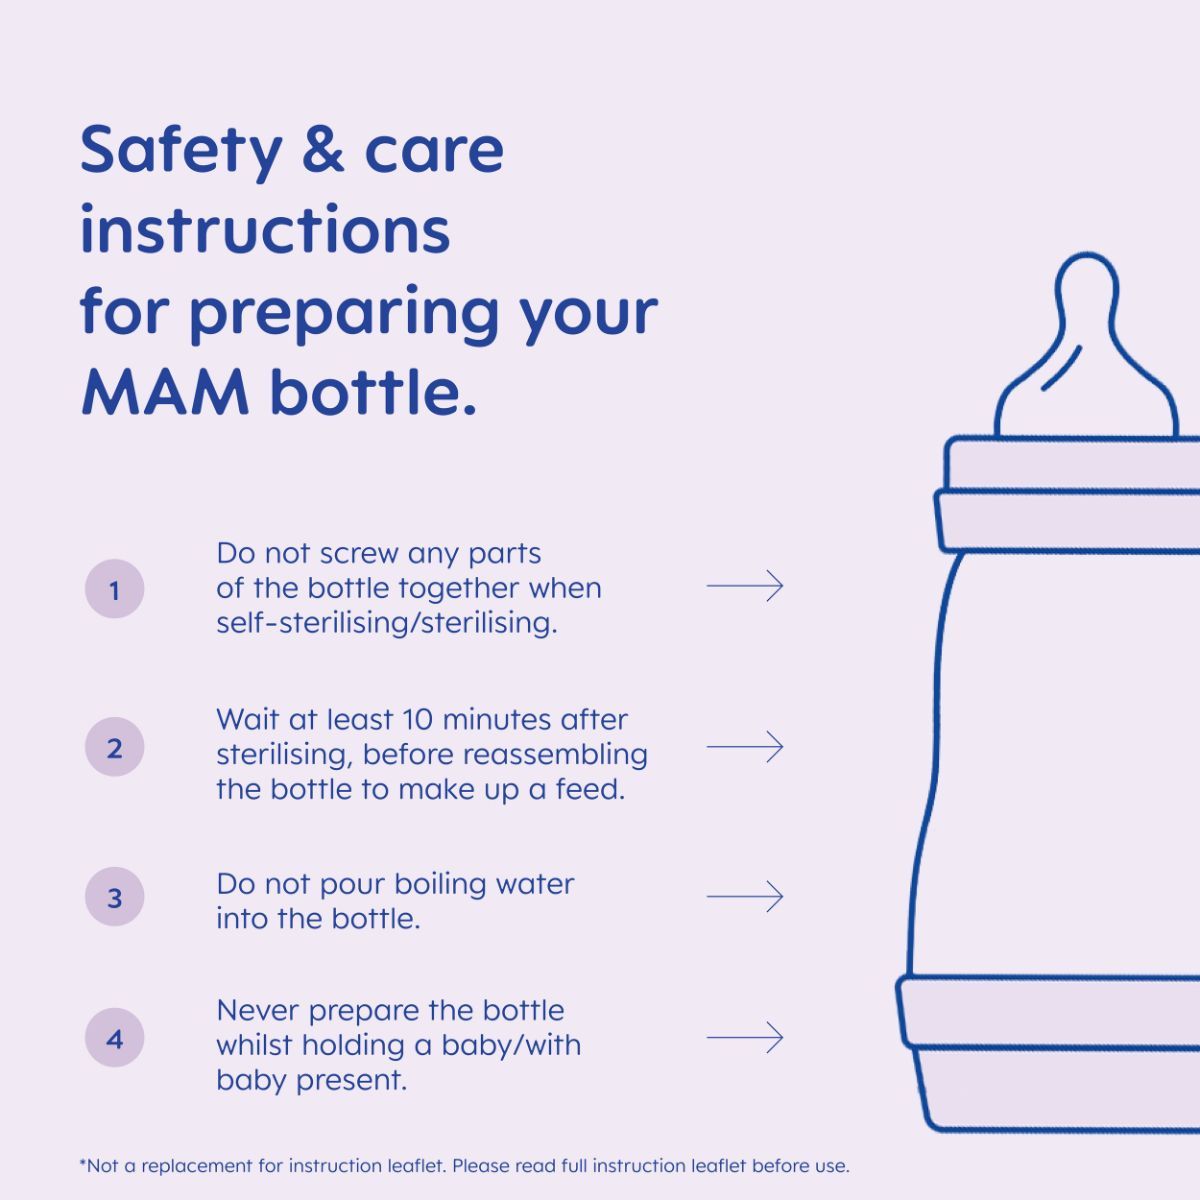
- Do not screw any parts of the bottle together when self-sterilising/sterilising
- Wait at least 10 minutes after sterilising, before reassembling the bottle to make up a feed
- Do not pour boiling water in the bottle
- Never prepare a bottle whilst holding a baby/with baby present
Please read full instructio leaflet before use and for more information please visit our guide on how to prepare a baby bottle
The MAM Teat is easily accepted by 94%* of babies thanks to its SkinSoft™ silicone surface and its unique flat shape, which feel so familiar to babies. This facilitates a switching between breast- and bottlefeeding.
Self-Sterilising
- The self-sterilising feature of the Easy Start™ Bottle is proven to be effective for killing common household germs and bacteria. For the best results, please follow all instructions carefully.
- Clean thoroughly as instructed above before self-sterilising.
- After cleaning, assemble bottle parts in the following way: base with with silicone valve, teat with screw ring/collar, bottle body and lid.
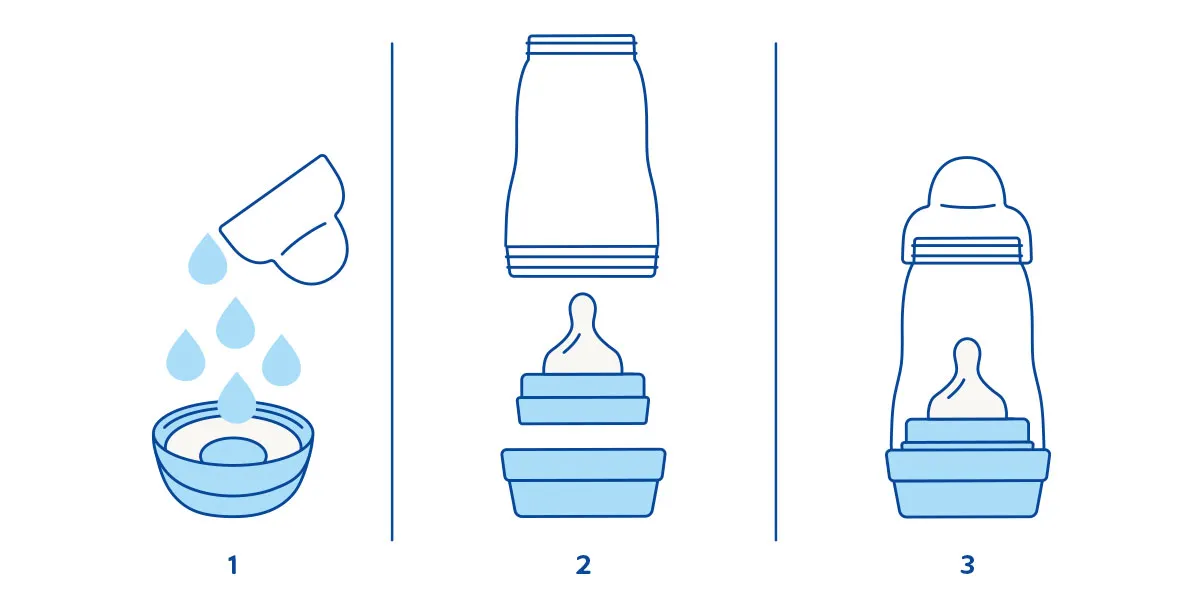
Step 1: Using the scale on the bottle lid, measure 20ml of tap water and pour this into the base (with white valve)
Step 2: Place the screw ring/collar with teat on the bottle base with water. Place and rest the bottle body over this. (DO NOT SCREW DOWN).
Step 3: Place the lid on top - your bottle is now ready for self-sterilising. Set your microwave timer according to how many bottles you are simultaneously cleaning. Set microwave from 500 to 1000 Watts.

- After self-sterilising allow bottle to cool down before removing from microwave.
- Recommended cooling time at least 10 minutes with opened microwave door. Be careful to hold the base and keep the bottle straight when removing from the microwave to avoid spilling any left over hot water.
- After the process is complete, if the bottle is left as assembled in step 3, it will remain disinfected for up to 48 hours. When self-sterilising on the go, you should self-sterilise, assemble your bottle and make up your feed straight after self-sterilising.
- After cooling time and using the bottle straight away: remove from the microwave and pour away any leftover water carefully. Shake parts to remove excess water.
- When Assembling do not worry about some water remaining on the bottle parts, this has been disinfected.
- Follow the user manual instructions for your microwave/device.
- Ensure that all parts from the self-sterilising bottle and microwave (including waveguide cover and turntable) are COMPLETELY clean and free from dirt, food residue, fat or oil splashes. If not this could lead to the product melting, the microwave sparking or the waveguide cover burning!
- The self-sterilising bottle should always be placed on the outer sides of the turn plate, and not in the centre of the plate as this could result in uneven heat distribution for disinfection.
- Do not leave your microwave unattended during the sterilising process.
- Never self-sterilise your bottle without water or incorrect water level; please be sure to use exactly 20mls of tap water.
- Always set the microwave to the correct power and time. If using a combination microwave, ensure the bottle is not exposed to the heat of the grill because this will damage it.
